Peli Cases are not only intended for seasoned veterans of professional photography, but for any photographer who may want to protect their equipment from dust, humidity or any inclement weather conditions that make it unsafe or impractical to move your equipment or photo shoot outdoors.
So, if there’s any of you who are taking their first steps into the vast domain of photography, here are a few fundamental tips regarding composition you may want to employ. And maybe this could be the right time of the year to start with a little practice.
If you like outdoor photography, lighting conditions may not always be optimal (at least in the Northern hemisphere, days are shorter and nights are longer) but Christmas holidays are coming and at least you’ll finally have some free time to practice, whether it’s with a family portrait, a snowy landscape or indoor photos at home with the help of a tripod.
What is composition in photography?
Each time you take a photo, you end up making conscious decisions about which items to include or exclude. You also decide how to arrange the objects that are in your frame. So, what is composition? Put simply, it is the arrangement of the elements in your photo.
The way an artist puts the elements within a frame helps a photograph become more or less interesting and eye-catching to the viewer and may result in its success or failure.
However, capturing a well composed photo composition is far from easy. To compose a photo well, one must take into account a series of compositional elements like points, lines, shapes, colour, space, texture as well as employ compositional techniques like the rule of thirds, the golden ratio, the rule of space and many more.
Which composition elements draw our attention in a photo?
- Points. A point is the simplest element of composition. A small area of interest or the intersection between different areas of interest.
- Lines. Lines are sometimes boundaries between different parts of the image and sometimes create paths for the eye to follow. They’re not strictly geometric, they’re sometimes curve or fuzzy. The most important thing is that they always connect two or more different elements of a photo.
- Shapes. They can be obvious or also abstract. Sometimes they’re the object itself.
- Colours. Colours also influence the composition of a photo and the way we perceive it. They change the mood and the emotion of a photo.
- Texture. It also gives your photo a crucial sense of dimensions. Sometimes it’s an element of a larger photo, sometimes it’s the subject itself.
- Space. It usually divides into positive space (which draws your attention) and negative space, the filler between areas of positive space. Photos with high amounts of positive space feel crowded, while photos with high amounts of negative space feel empty.
Five basic rules of composition in photography
- Leading lines. They’re the main lines of the image that lead the viewer’s eye from one part of the composition to another. Try to position them carefully, because through them you can get the viewer to look where you want them to look. You can use them also to create flow, dynamism, and three-dimensionality. Leading lines are all around, it’s an interesting exercise to practice finding them when you look at something even when not photographing.
- Rule of thirds. The rule of thirds is a compositional guideline that breaks an image into thirds, both horizontally and vertically, so this leaves you with nine frames and four gridlines. According to the rule, by positioning key elements along the gridlines, you’ll obtain better compositions.
To follow the rule, simply use the gridlines to position essential compositional elements: Avoid placing elements in the centre of the frames. Instead, the main subject (or point of interest) should be always placed where the lines intersect. Most cameras have a Grid View, so you can use it to help yourself.
- Golden Ratio. Artists, architects, and musicians all over the world have used it for centuries, but it can also be found everywhere in the natural world. However, it comes from mathematics. The golden ratio is a ratio of approximately 1.618 to 1. To use the golden ratio in photography, you simply apply it to the placement of objects in your composition. The Italian mathematician Leonardo Fibonacci came up with this idea when he arranged a series of numbers. In fact, the Fibonacci spiral is one of the main ways photographers can use the golden ratio in photography.
But don’t let mathematics scare you off! Obviously, nobody expects you to apply mathematical calculations to use this technique. So how do you use the golden ratio in photography?
You should just place the area with the most details in the smallest box of the coil. This does not have to be in one of the corners, it can be anywhere in the frame.
Try to place the rest of the subject within the curve, too. This will lead the eye of the viewer through the image in a natural way.
- The rule of space. The rule of space in photography is simply the act of adding empty visual space (or negative space) in front of the direction that an object is moving, looking or pointing in order to give a subject some room to breathe, to imply motion and direction and to lead the eye of the viewer. See this, for example:
- Symmetry and Patterns. Symmetry happens when two halves of a photo hold the same visual weight. You can also find symmetry in the repeating patterns made by a sequence of elements – both man-made and natural. Patterns appear whenever strong graphic elements—lines, colours, shapes, or forms—repeat themselves. They bring visual rhythm and harmony to images and, like a series of repeated notes in a melody, they capture the imagination. The secret to find them is to explore potential subjects from a variety of angles.
Now that we’ve told you the rules, we are going to teach you how to break them
Most of the photographic guidelines of composition are taken from traditional art, specifically painting. However, it’s important to note that all rules in photography can be broken, and you can create an impactful and compelling image even if you stray away from the popular “photography rules of composition”.
Actually, even a perfectly exposed and sharp image taken with the most professional camera can “tell us nothing” if it’s not composed in an interesting or meaningful way. In fact, if composed well, your image may as well be blurred or underexposed. As long as these aspects contribute to your idea, they are perfectly acceptable and might even become the emblem of your own distinctive style.
The Vision
The most important thing is to have a plan, an idea when you take a certain photo. You need to be able to picture the final image in your head, to visualize it, before shooting. You need to have in your mind the vision of the best version of your photo, and this is something you only gain with experience.
Every decision you make in the field should be in service of that vision, so try not to let decisions fly by on autopilot. When you pick a particular set of camera settings, know why you’re doing so. Don’t just use a focal length because someone suggested it or because that’s the one you used last time. Instead, evaluate the scene in front of you and deliberately pick which focal length will meet your vision the best. And so on, for every decision you make.
Of course, if you’re a complete beginner, you won’t immediately be able to make these decisions. In that case, just keep experimenting.
Now you know the basics. Try to familiarise yourself with your camera. Determine what your focal point is. Position yourself accordingly. Don’t cut off important parts of your subject with the edge of your frame. Decide where to locate the points, lines, shapes, etc. of your photo. Adjust for lighting conditions. Keep your horizons level and try to eliminate any distractions in your photo by adjusting your composition. See if your photo has a sense of balance and simplicity. It’s done, you got it!
And if the photo doesn’t look good on your first try, take multiple shots, keep trying until you get it right, we promise you will!
If you are looking for some other photography tips, check out our blog post on 7 fundamental photography tips to know.
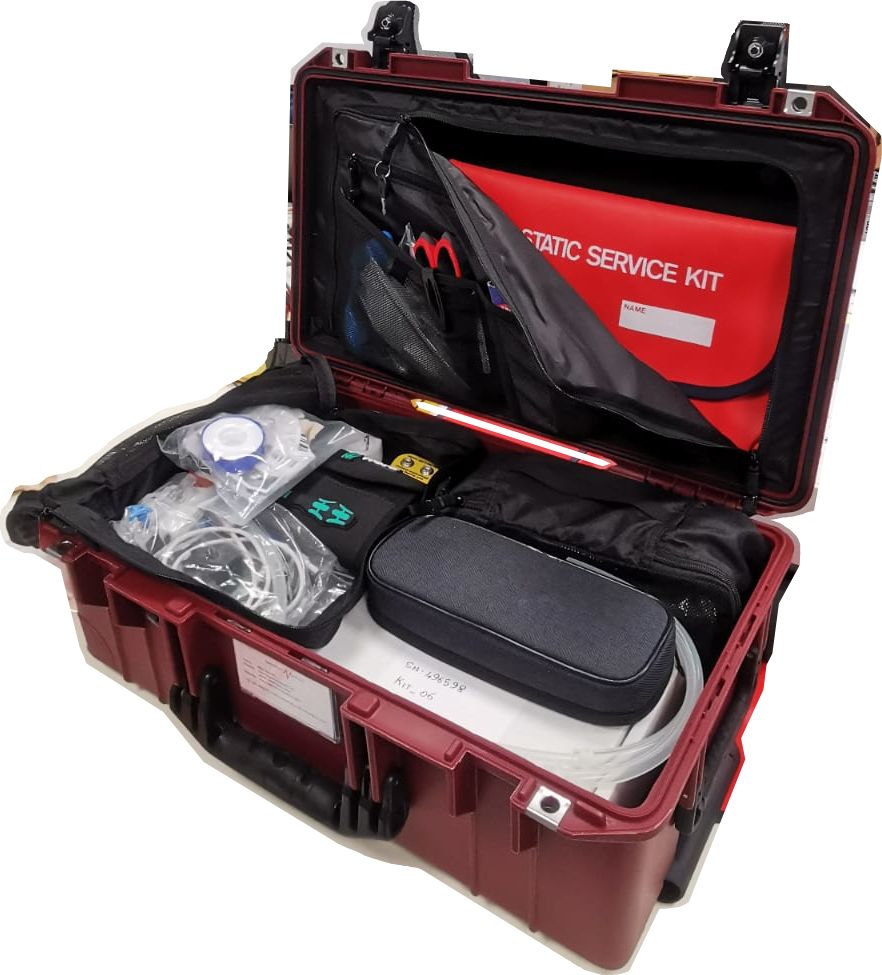
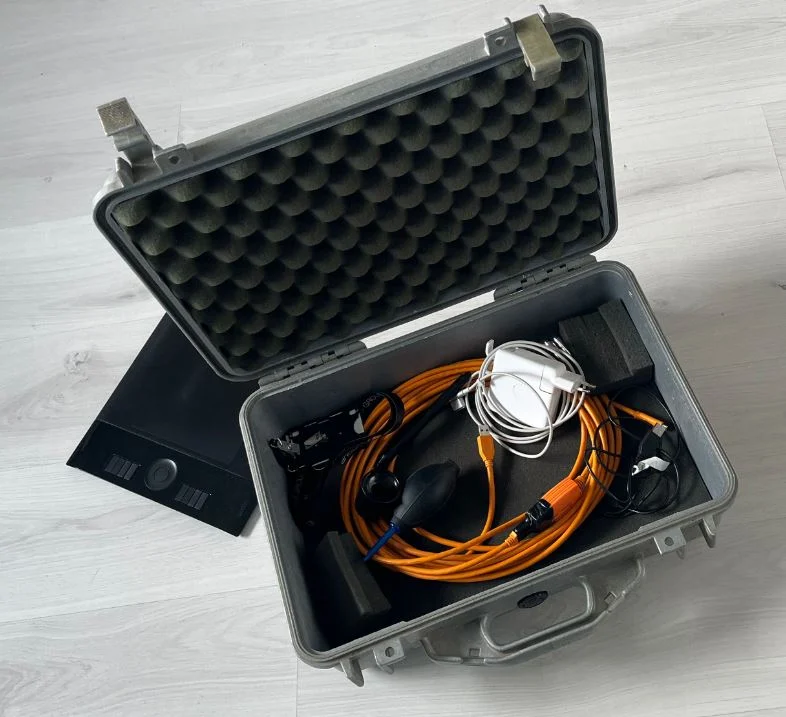
Lastly, to protect your photography equipment, you’re going to want to procure the best possible camera case for your highly valued sensitive equipment.
Since 1976, Peli has been the original manufacturer of the genuine Peli™ Protector Case™, as well as the Peli™ Air, and Storm Case™ lines, the toughest, high-impact resistant, dust proof, chemical resistant and IP67 watertight cases for extreme protection. During all these years Peli cases have been a favourite of all photographers having protected millions of cameras, lenses and other accessories while travelling around the world under the most difficult conditions keeping all the equipment safe and functional. One thing we can say with a high degree of confidence is that if your camera could talk, there is no doubt it would ask for a PELI case as a Christmas present.
If you’d like to learn more about Peli cases, and find a good option for your camera, click on the button below.