When it comes to firearm use, it’s important to take into account that half of every day is shrouded in darkness. Thus, if you are a marksmen of some kind, knowing how to properly use a tactical light in conjunction with a firearm is good practice. Police, military and security professionals use a variety of different techniques and in this post we will briefly go over what those are and how to employ them.
The Harries Technique
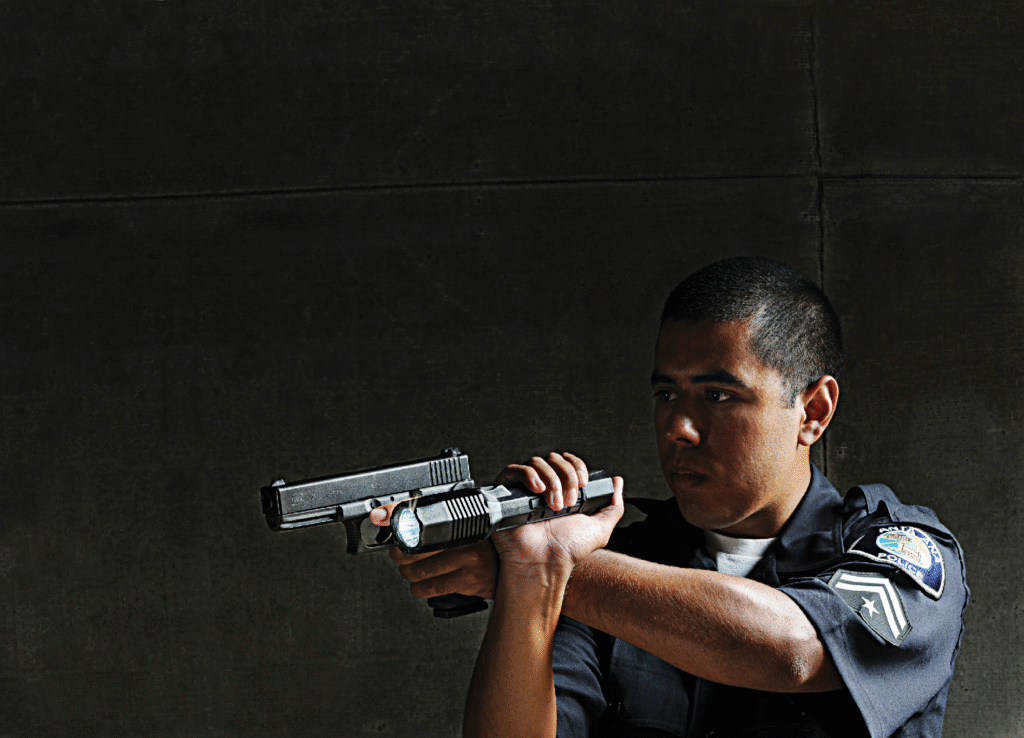
The Harries Technique is one of the most popular techniques for using a tactical light with a firearm. The technique is named after Michael Harries, a firearm marksman and instructor who popularised it back in the 1970s. Like many of the oft-used techniques, this one was originally intended to be used with the bigger bulkier tactical flashlights of the past. However, the Harries Technique is just as useful to be employed with the smaller more lightweight tactical flashlights that are popular today, in addition to offering a range of benefits to the marksman.
One such benefit is that it provides stability to the gun-hand, which would otherwise be considered a strong-hand-only grip, which does not provide much stability. To employ the Harries Technique, one must wrap their support-hand around the body of the tactical light, with their thumb on the tail-cap switch. This is called an ice pick grip. Next, with the firearm drawn, one must wrap their support-hand under and around the magazine well of the firearm, which creates the base and Support mentioned previously. Then with the arms crossed and the wrist and the backs of both hands pressing solidly together, raise up to aim at your intended target.
One of the downsides to this technique is that in a gun fight situation, the attacker will generally aim and fire at the light source. With the Harries Technique, the light sits directly in front of the face or body of the person who employs it. This can be mitigated with tactical lights that have momentary-on switches which do not require complete depression of the tail cap button to activate. Also, strobe light modes can also throw an attacker off due to the Butcha Effect.
Another way to mitigate this downside is by using another one of the most popular techniques, the FBI technique.
The FBI Technique
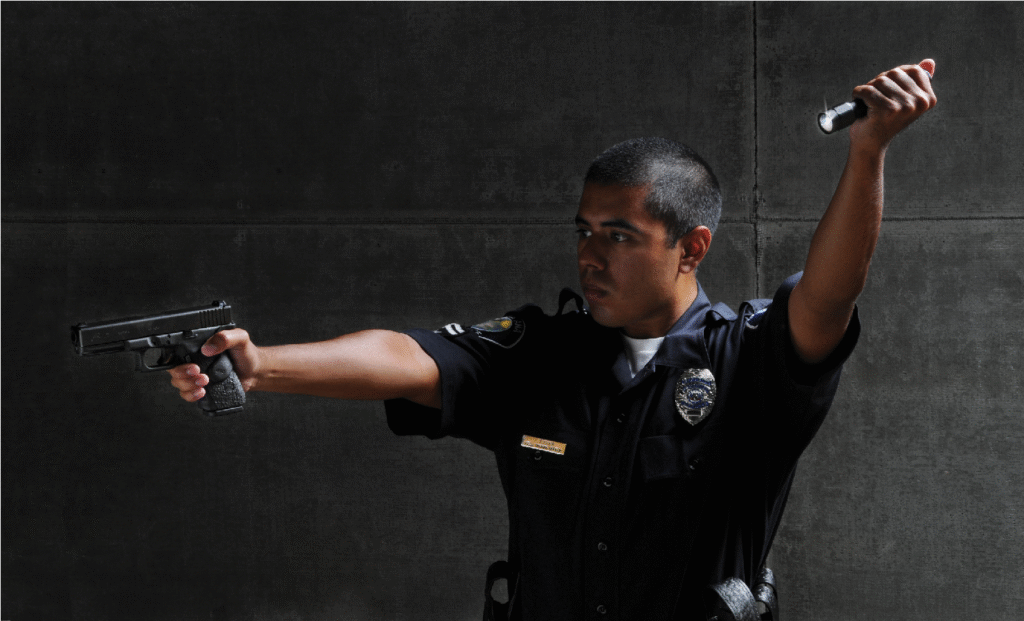
As you might imagine, the FBI technique is taught and employed by members of the U.S. Federal Bureau of Investigation. This technique is employed by once again gripping the flashlight with one’s support-hand with the thumb placed on the tail cap switch. The difference in this method is that the arm with the flashlight is extended out and away, high and to the left, of the body.
As implied earlier, one of the biggest benefits of this technique is that it places the light source far away from the body. In case an attacker is firing at the light source, it is likely to miss entirely or only hit a non-vital appendage. The downside of this option is that it can be fatiguing to keep the arm out and way from the body for longer periods of time and there is no support provided to the gun hand.
The Neck Index Technique
One way to provide a bit more support and put the light in a more natural position is to use the Neck Index Technique.
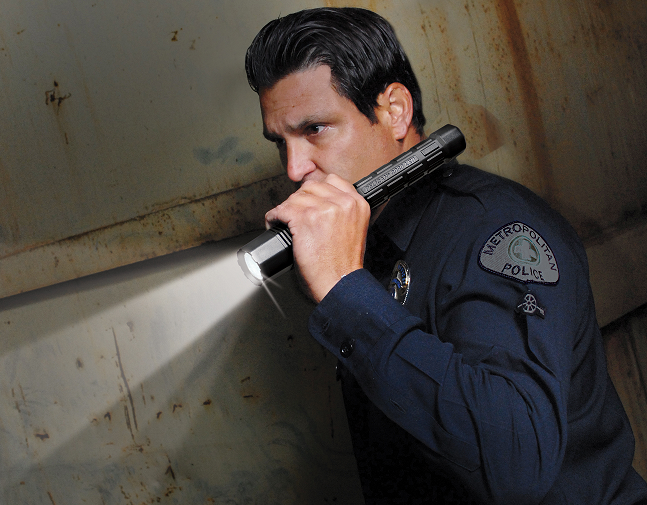
In this technique, there is a bit more support as the user regains a bit of the centre of gravity, by bringing the arm in, and placing it and bracing it in the natural crevasse created by the intersection of the neck and the shoulder. The light is gripped in the same way as the two previous techniques with the thumb on the tail cap switch, the ice pick grip.
The Neck Index Technique is ideal because it allows for fully illuminating sights from a rear position which allows for a greater area coverage of the light, but also provides enough illumination to clearly identify the target. Again, the downside to this technique like the Harries Technique is that it puts the source of the illumination centred with the body, which puts the user at greater risk if a would-be attacker fires at the light source.
Two-Handed Techniques: The Rogers & The Syringe
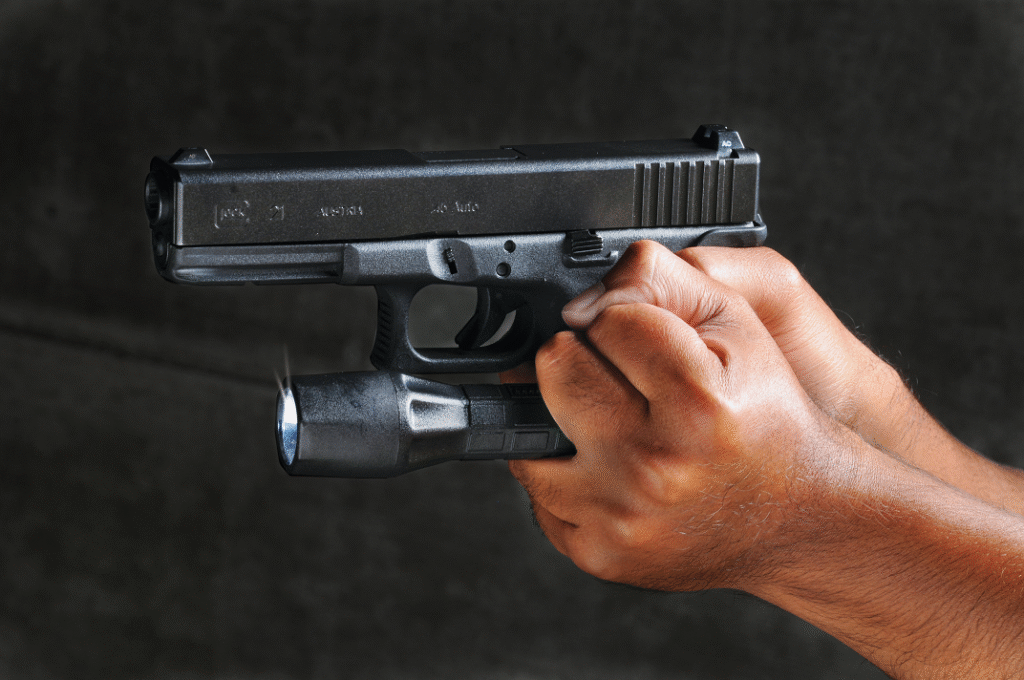
Some of the more popular grips in today’s day and age, are the two-handed grips: The Rogers and the Syringe techniques. These techniques are quite popular as the were developed largely for use with the modern smaller more lightweight tactical flashlights of today.
Each one is a bit tricky to employ, but they are all fairly similar in their application. In each, the tail cap switch is pressed up against the palm of the support hand and can be activated and deactivated pressing the switch into the palm of the hand enough to depress the button. The difference lies in which two fingers wrap around the light to stabilise it. With regard to the Rogers, the light is placed between the index and middle fingers, while with the Syringe technique, the light is placed between the middle and ring fingers.
In either case, once the light is secured in the support hand, it must be brought up to the support side of a drawn firearm. Then one must wrap the ring and pinkie fingers around the strong gun hand and place the support-hand thumb up against the strong-hand thumb.
The advantage to this technique is that it provides as close as possible to a strong two-hand grip on the firearm while also allowing for the use of a tactical light.
Whichever technique you go with, you’ll need a high quality tactical light. Peli Products produces a wide range of tactical lights, from bigger bulkier more traditional tactical lights to smaller more lightweight modern tactical lights. To learn more about the tactical lights that Peli has on offer, click on the button below.