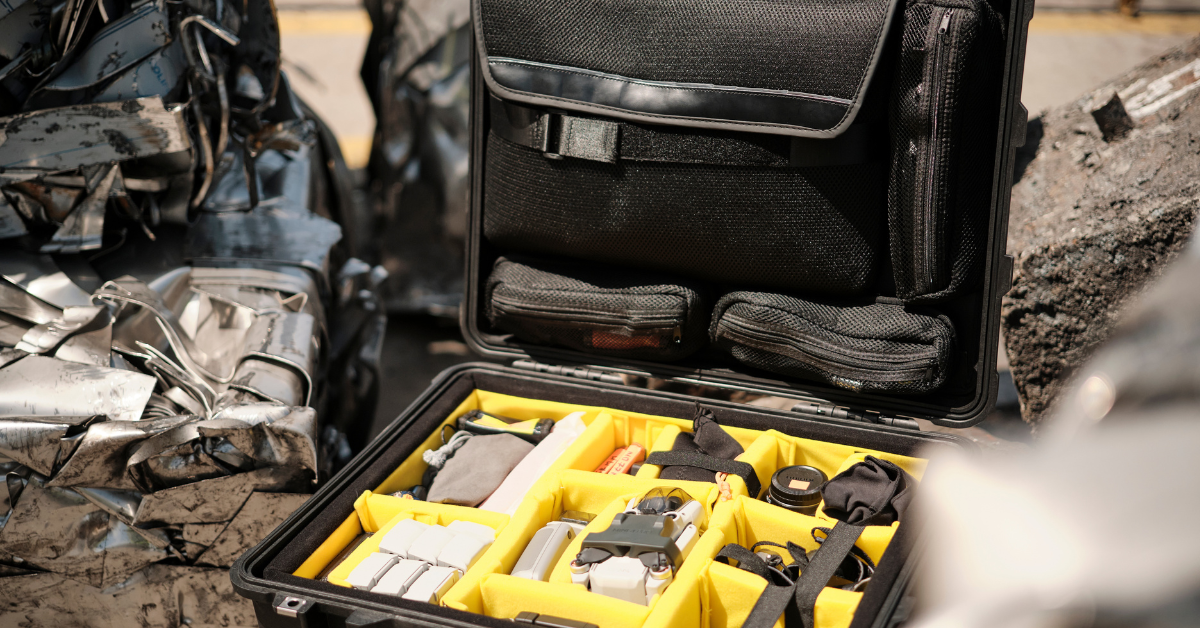
We’re back with our latest how-to video and tutorial. This time we’re taking a look at our patented TrekPak divider system, which you can use to kit out your case with the precision your equipment deserves. The TrekPak™ system uses pre-installed wall sections, divider panels, locking pins and a fool-proof cutting tool. Just lay your gear in the case, measure and cut the divider sections and lock them in place with the steel U-pins. The results are impressive! Watch the video below or read on to learn exactly how to install Peli™ TrekPak™ dividers step-by-step.
How to Install your TrekPak™ Dividers
Every TrekPak™ kit includes top foam, bottom foam and two perimeter pieces. In the case of a Peli 1510, you will have 3 dividers; one long and two short, one cutter tool and two pin packs.
Step 1: Place in your Bottom & Top Foam
For installation, open your case, place in your bottom foam and then place in your top foam securing the edges. On some inserts, there may be a bumper on the outside of the perimeter to ensure proper fitting. Turning the perimeter piece over, there are two cut outs to create a seamless bend and notch for wheel wells in your case.
Step 2: Insert the Perimeter Pieces
Insert the perimeter piece so the cut outs fit snuggly over the wheel wells. Add in the second perimeter piece.
Step 3: Lock the Perimeter Pieces in Place
Using two pins from your bag, lock the two perimeter pieces in place. Gently press down until the bumper hits the top of your case. Then squeeze the edges of your perimeter and press down to ensure a proper snug fit.
Step 4: Add in your Gear
Add in your gear largest to smallest. It may take a few times to get your layout just right. TrekPak™ lens pads may be used to separate or stack gear and extra bits where needed.
Using one of the divider pieces, ensure there is enough space in between all of your gear to accommodate a divider.
Step 5: Measure the First Divider
Measure the first divider by placing it against the perimeter and finding which flute will touch the opposing wall.
Step 6: Cut the Divider Using the Cutter Tool
Place the middle prong of your cutter into the divider, put on a flat surface, and using your opposite hand hold down the divider and cut. It’s as simple as that. Wiggle your divider into place, making sure all your equipment is snug but can be removed from the pockets.
Step 7: Attach the Red Pull Tags
Attach the red pull tabs onto the pins.
Step 8: Lock the Dividers
Lock your dividers into place.
Visit our website to find out more about our cases and our different interior case solutions.


.png)








Post a comment