.jpg)
Given that this seems to be such a popular way to use Peli cases, with the help of our American brethren we decided to put together a piece with advice for those looking to create their very own custom toolbox out of a Peli case. We recently made a more general step-by-step guide to choosing the right case, but in this step-by-step process, we’ll focus on setting up a custom toolbox, helping you choose the right case, select which tools to include and how to create the best interior cut-out for your equipment.
Step 1: Case Selection
Peli now has a wider selection of case lines, sizes and models than ever before. This allows for maximum efficiency, choosing the right case to house your selected tools, without any wasted space. However, having so many cases to choose from can present a problem, as the wide selection can be overwhelming for some. Thus, there are a multitude of considerations to take into account in selecting your case.
The first thing you’ll have to consider when selecting your case is where and how you will be using it. Are you going to be flying with it or driving locally? Or perhaps you don’t travel much at all. Your travel plans, therefore, will largely dictate your selection of case.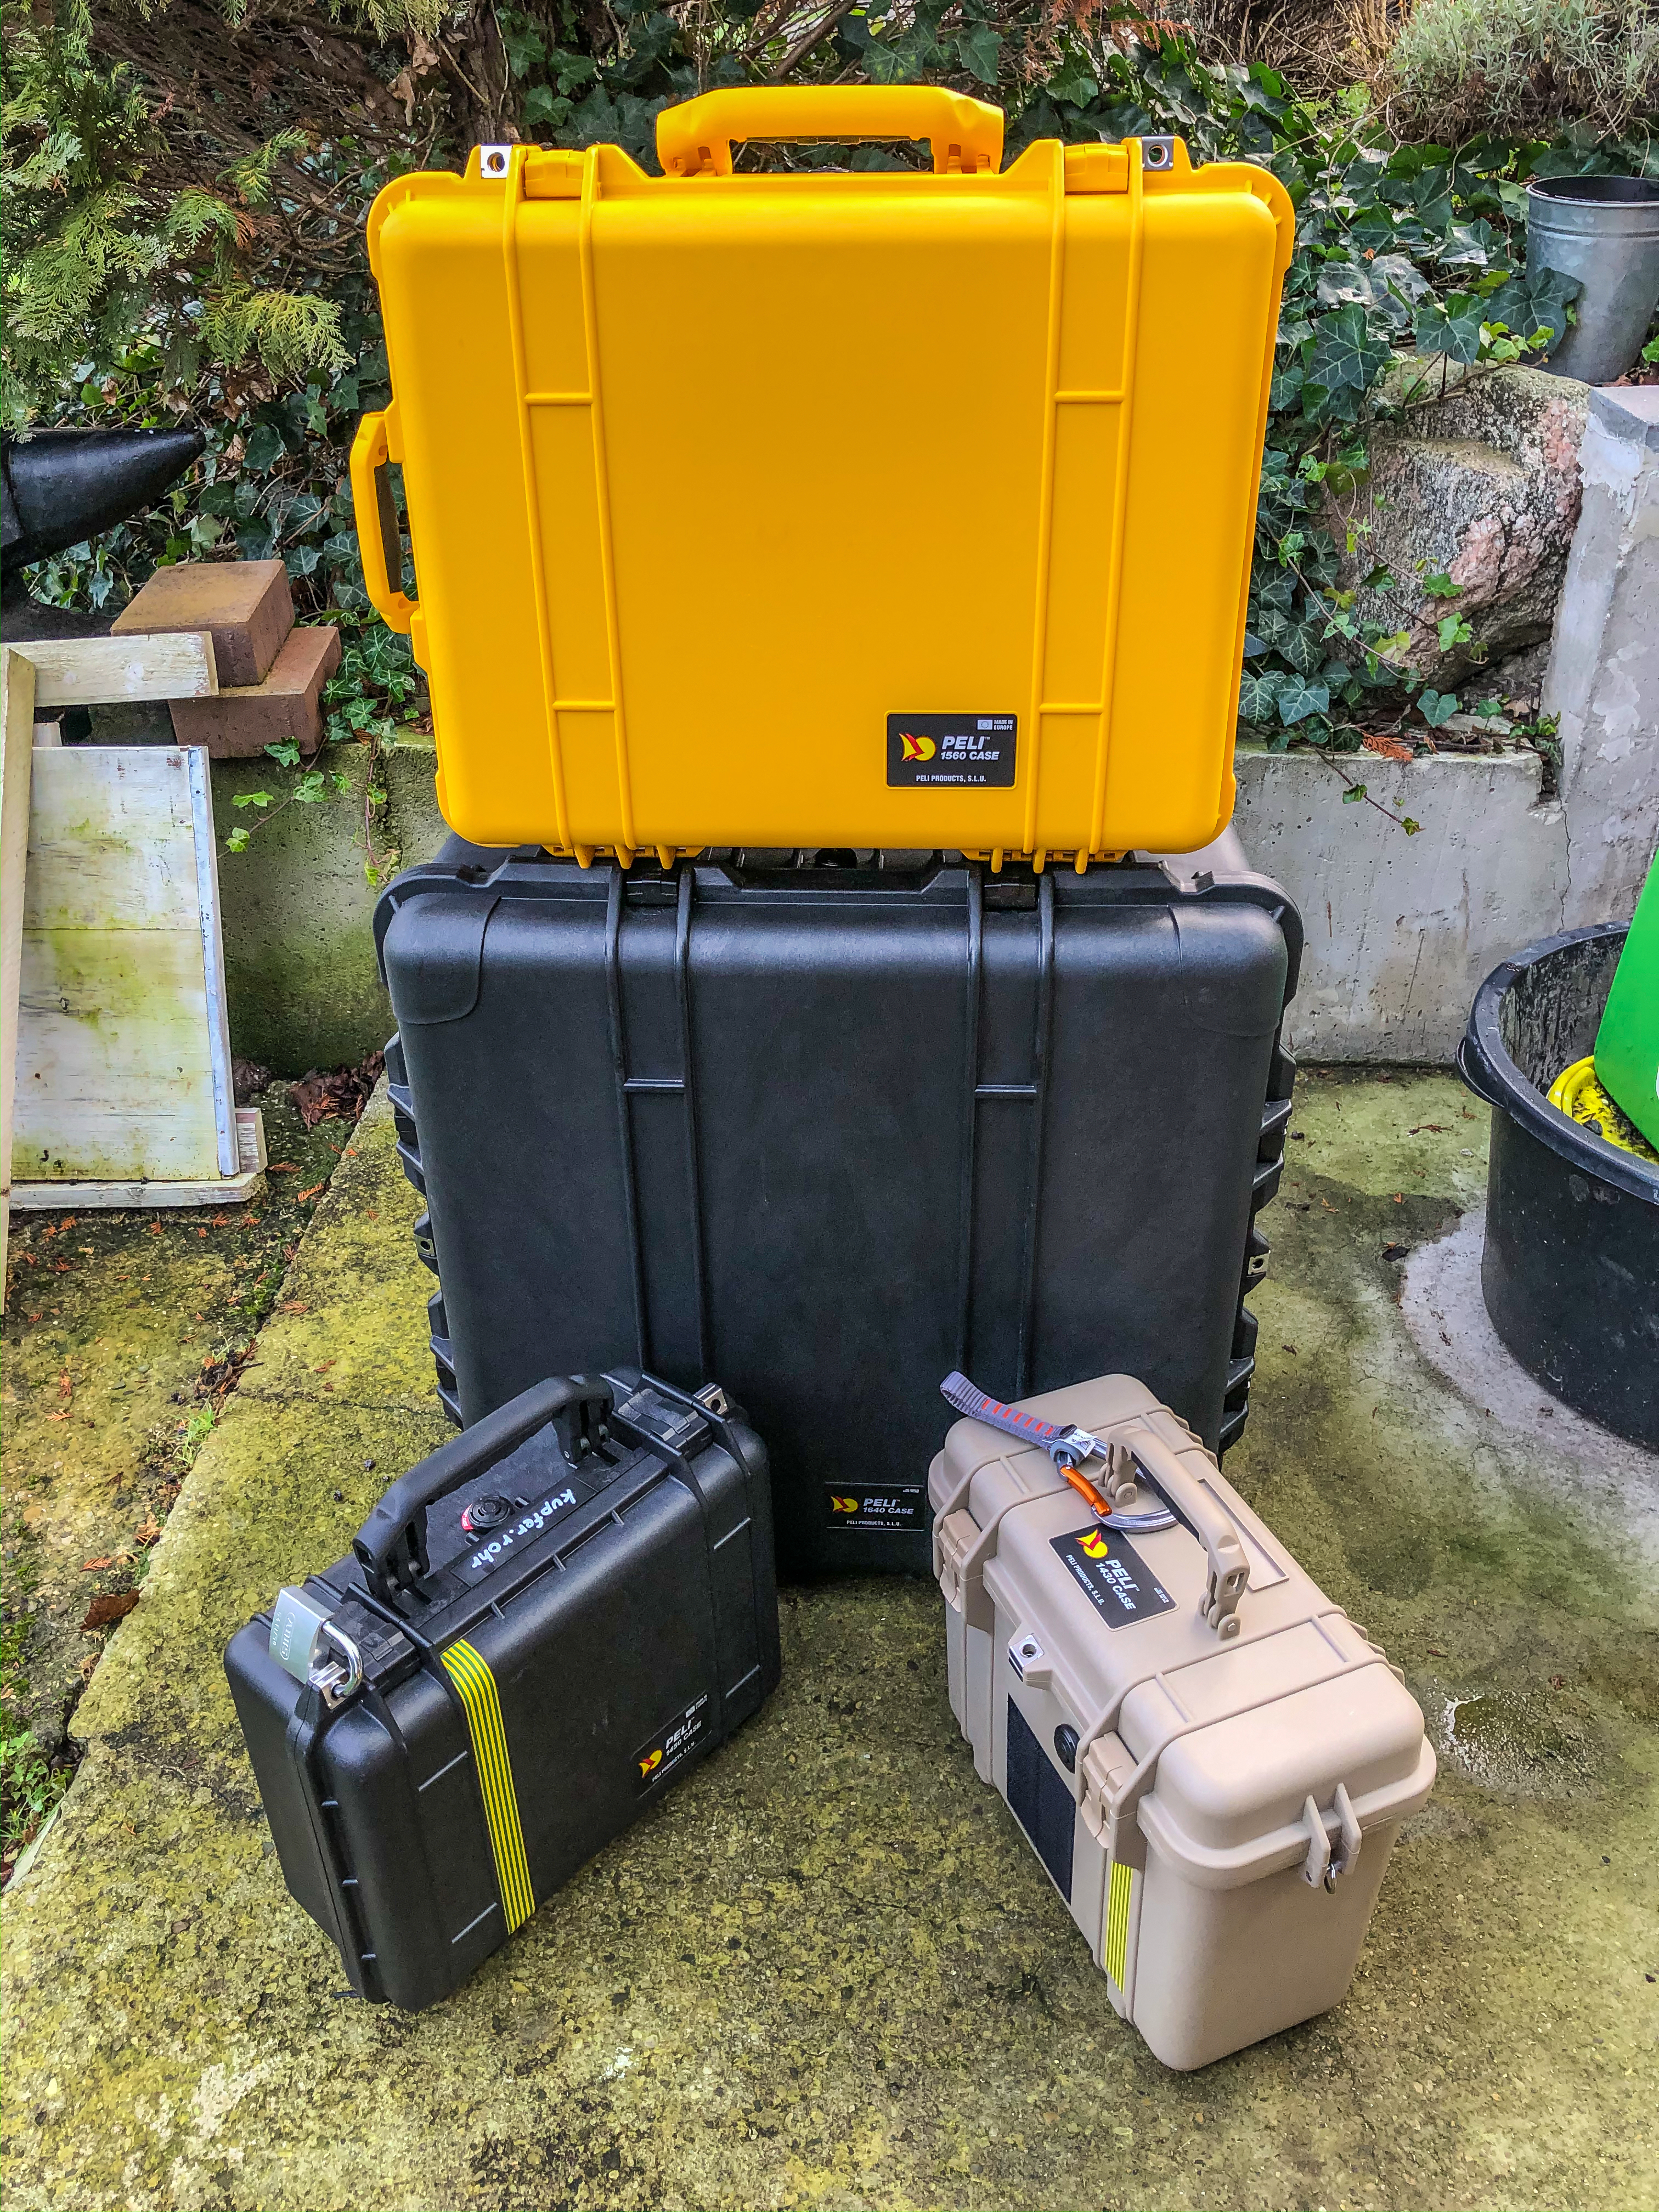
For those traveling by air with their toolbox, for example, the goal may be to choose the smallest most mobile case that can also accommodate the tools you have deemed necessary. This is because if you are planning to fly with your toolbox, there are restrictions as to what you can carry onto an airplane. Toolboxes are often required to be checked, so one must consider the potential for extra fees involved with oversized or overweight baggage. Due to the possibility of needing to check your bag on airlines, case durability and interior fit become extremely important to keep your tools in-place and protected.
Things like weight, mobility and durability are things you therefore want to consider when selecting a case and there are some differences between the various Peli case lines that may influence your decision. You can find out more about the differences between the Peli Air, Peli Protector and Peli Storm cases here.
Having said all of that, to point you in the right direction, here is a list of some of our favourite case models for toolbox builds:
Peli 1535 Air Case – Interior: 51.8 × 28.4 × 18.3 cm – Ideal for carrying on a plane, this case is also equipped with wheels. It is the second generation of the industry standard camera case, the Peli 1510 Protector.
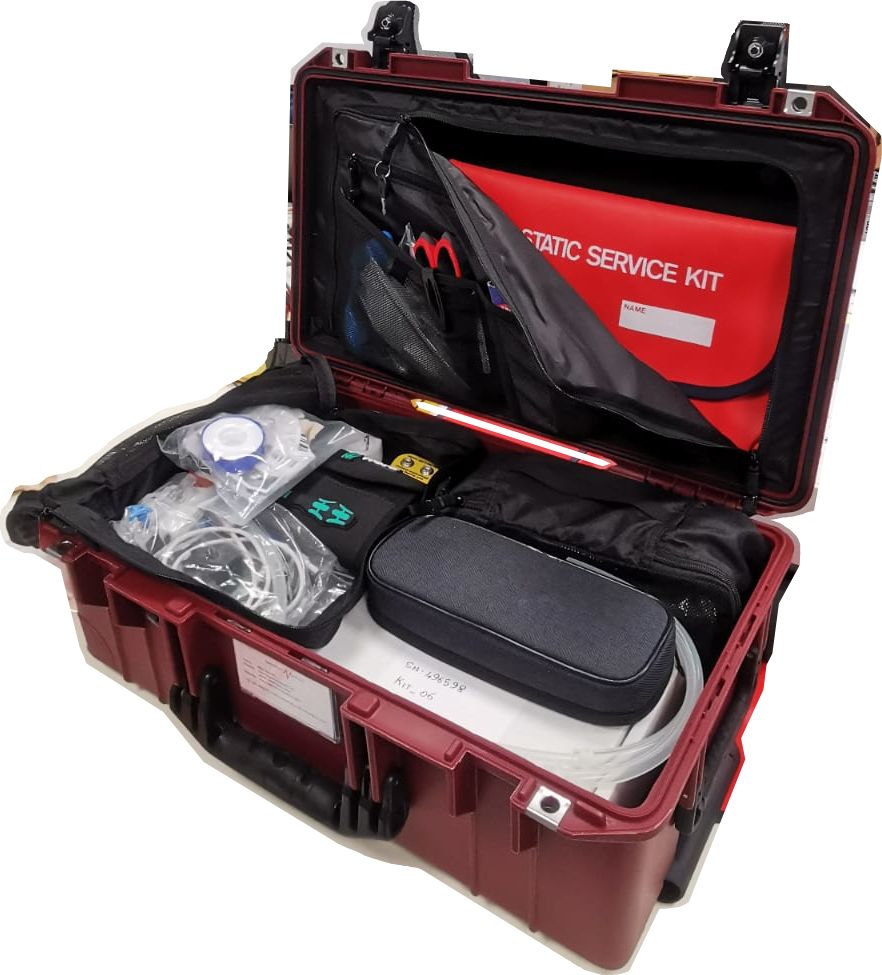
Peli Long Cases – Interior: 111.8 × 42.6 × 20.2 cm – Long cases that might normally carry a rifle create an excellent canvas for your toolbox as everything is visible with no layers.
Peli 1465 Air Case – Interior: 47.3 × 25.4 × 27.8 cm – This case follows more of the traditional toolbox shape, evenly split between lid and case body. It is great for deployment on uneven surfaces.
Peli 1607 Air Case – Interior: 53.5 × 40.2 × 29.5 cm – This case is equipped with wheels and is extremely deep compared with the others on this list. If you needed to fit power tools or other larger tools this is an ideal fit.
Peli 0450 Mobile Tool Chest – Of course, if you aren’t looking to travel too far and a custom toolbox just isn’t your bag, perhaps something more akin to a traditional tool chest would be ideal. Therefore, it would be remiss of us not to mention that we’ve recently launched the newest iteration of our mobile tool chest. These babies feature an aluminium rail slide system that allows each tray to slide out into a secure position for easy access of your tools. They can also be effortlessly removed for repositioning or cleaning. This tool chest also comes with an extendable trolley handle and rough terrain wheels that will take the strain off transport.
Step 2: Tool Selection
Many custom Peli toolboxes we’ve seen feature layers of foam that have been cut to snuggly fit specific tools. Starting with the number of foam layers in the case model you selected in step 1, you should now start thinking about how to best organize the tools on each layer. If you are a mechanic or craftsman, you may have upwards of 80 to 100 tools to accommodate in a Peli case, therefore, the key is to prioritize tool selection based on which ones you use most often and/or need to be accessed quickly. Those prioritized tools logically will be those that you place in the top layers, with the tools that are needed less often sitting in the bottom layers. Of course, sometimes some larger tools, such as power tools, will need to be placed toward the bottom layers due to the size and weight, but ultimately, it’s whatever works best for you.
Before you start goingto town on the foam itself, it is recommended to start with cardboard cut-outs, making them the same the size of your case interior. These will represent your layers of foam. You’ll want to also label them according to which layers will go on top of the others. Then you can start tracing the tools out on to the cardboard to see how best to fit them in.
As the old adage goes, measuretwice and cut once. In other words, double-check your measurements before you start cutting your foam.
Step #3: Interior Selection & Cutting Process
The final element of the toolbox creation process is choosing and cutting the foam to effectively secure your tools in the correct positions. At Peli we have various types of case interiors that you can utilize to organize your tools in your case. If you aren’t satisfied with some of our standard case interiors, we also have custom foam solutions available. Peli engineers will be able to cut perfect outlines of your tools into the foam so that your tools sit flush with the top of the foam layer. Additionally, we have many official Peli partners that can produce custom foam for whatever tools you’d like to house in your case.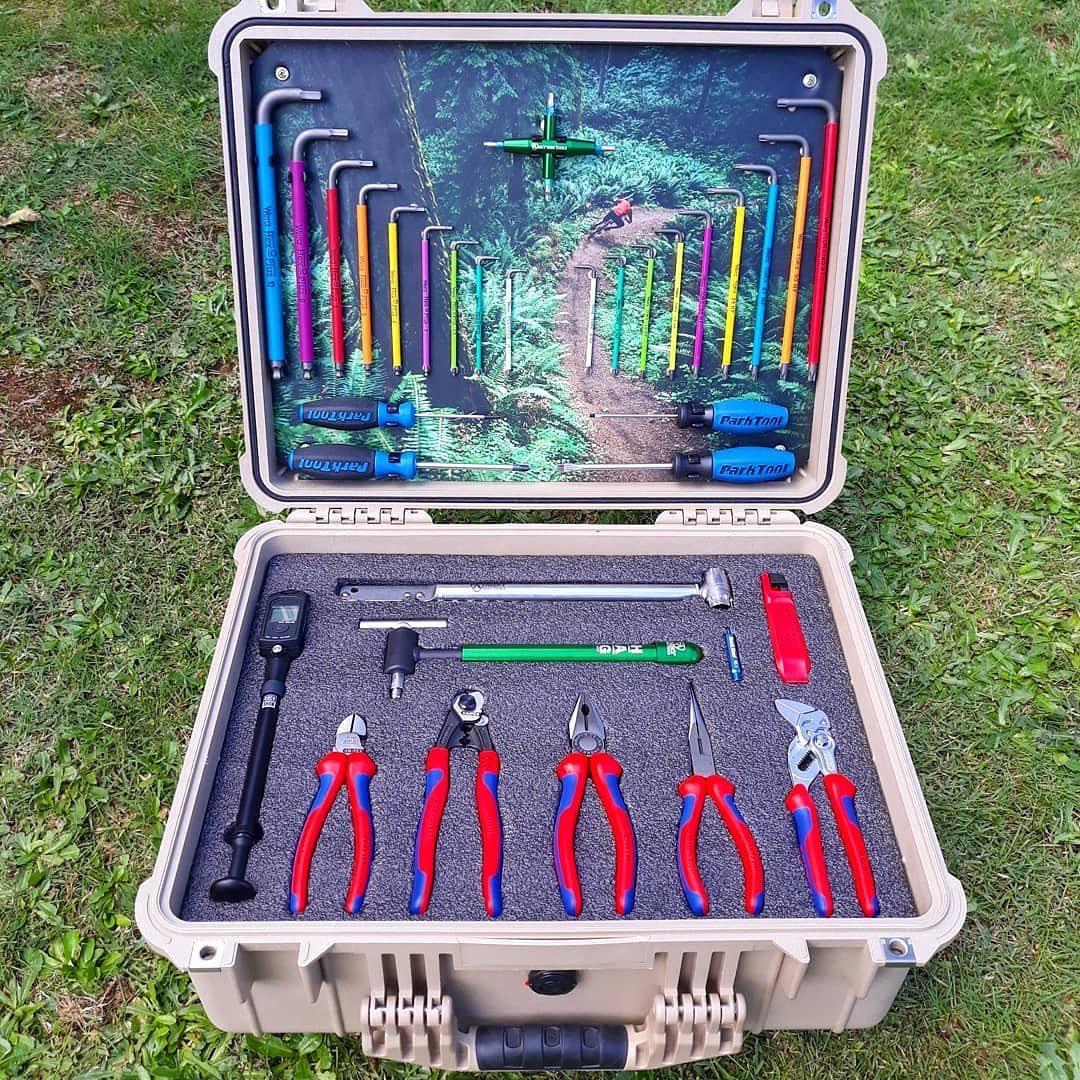
If you are interested in learning more about the custom foam process or you’d like to discuss anything else we presented in this piece, don’t hesitate to contact us. To see our full case catalogue, click on the button below.
Lastly, when you complete your custom toolbox, be sure to share your creation with the hashtags #CustomPeli & #PeliAtWork. We’ll keep an eye out and feature your toolbox on our social media profiles!
Images by:
Stephanie Makrikostas
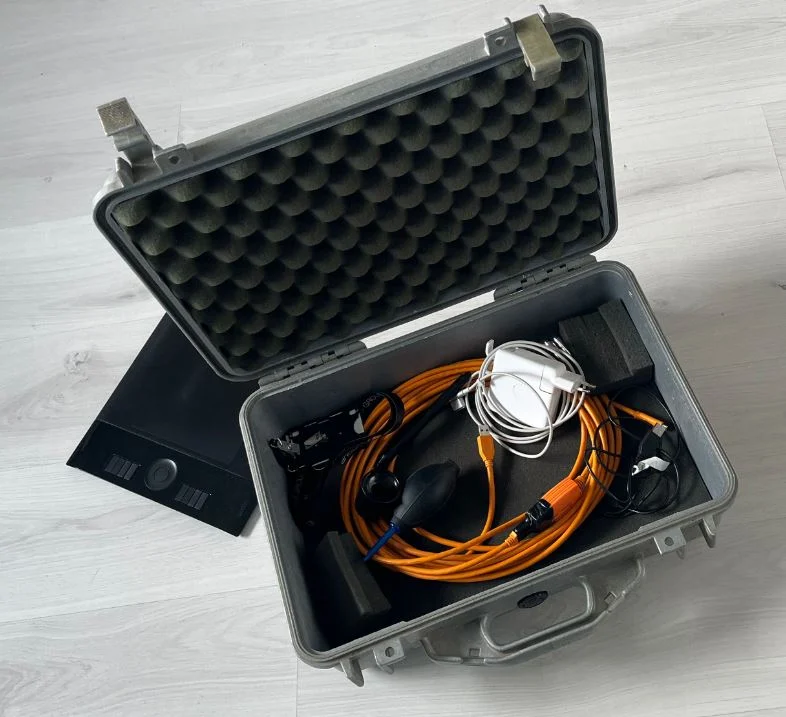
kupfer.rohr